Digitising oral histories
Digitising oral histories from tapes, cassettes and other analogue carriers is all about preserving Victoria’s precious memories, so in the future, they can be remembered again.
The process of digitising is methodical and painstaking. While each project has its nuances, each one follows a strict protocol, from assessment through to long-term preservation.
‘Unlike a photograph or a letter, you don’t know what’s in an oral history until you listen to it... It’s like opening a present.’
Step 1: Assessing and itemising the material
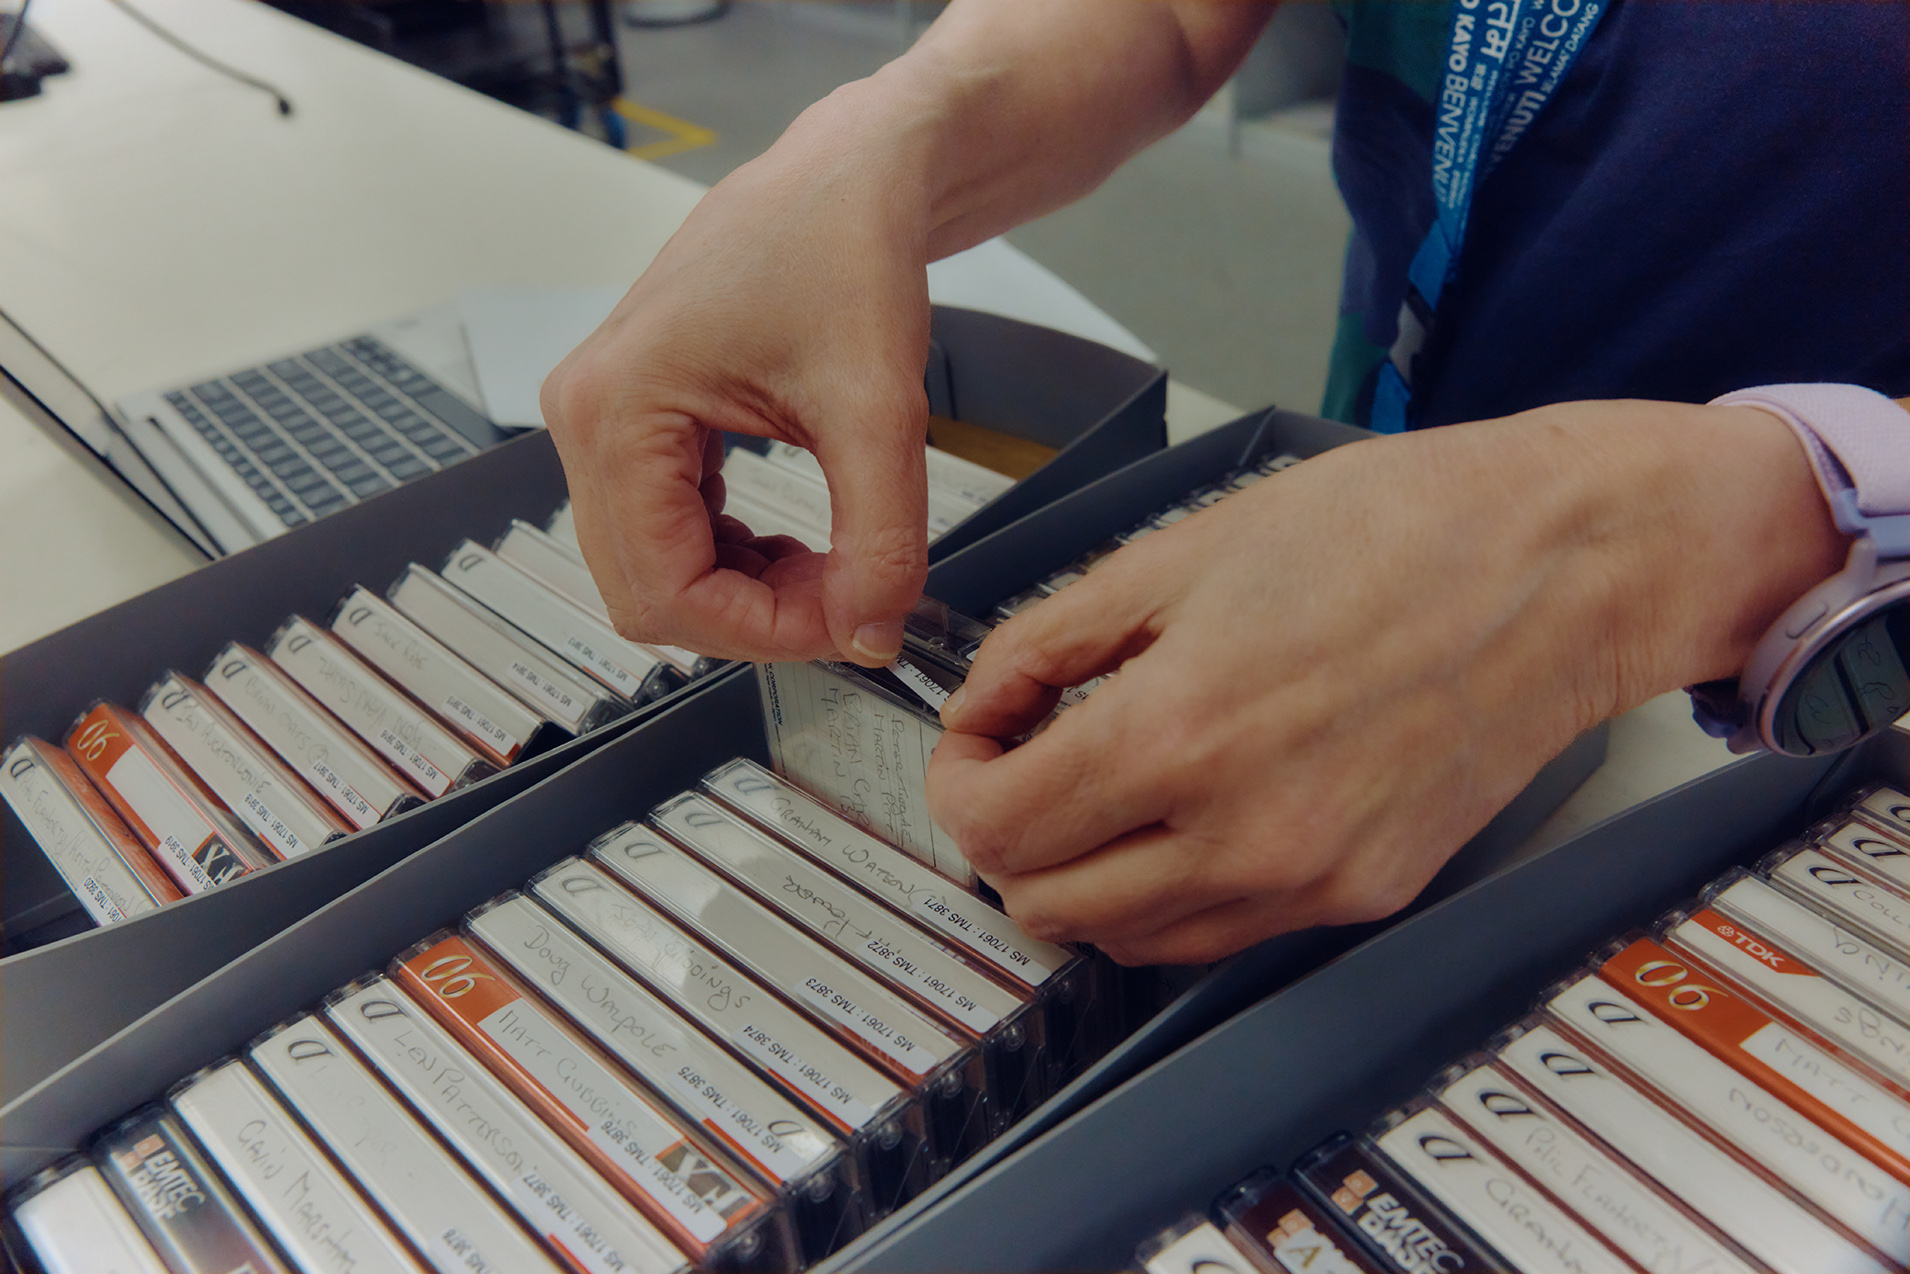
Before any work can be carried out, each original item needs to be physically assessed to make sure it’s clearly labelled and properly housed.
Item-level metadata is then created to track each item through the workflow. Information recorded includes the interviewer, interviewee, content notes, dates, recording duration and unique identifiers.
Creating this metadata often involves transcribing original typed or handwritten documents that accompany the material.
This is an essential step that underpins everything that follows.
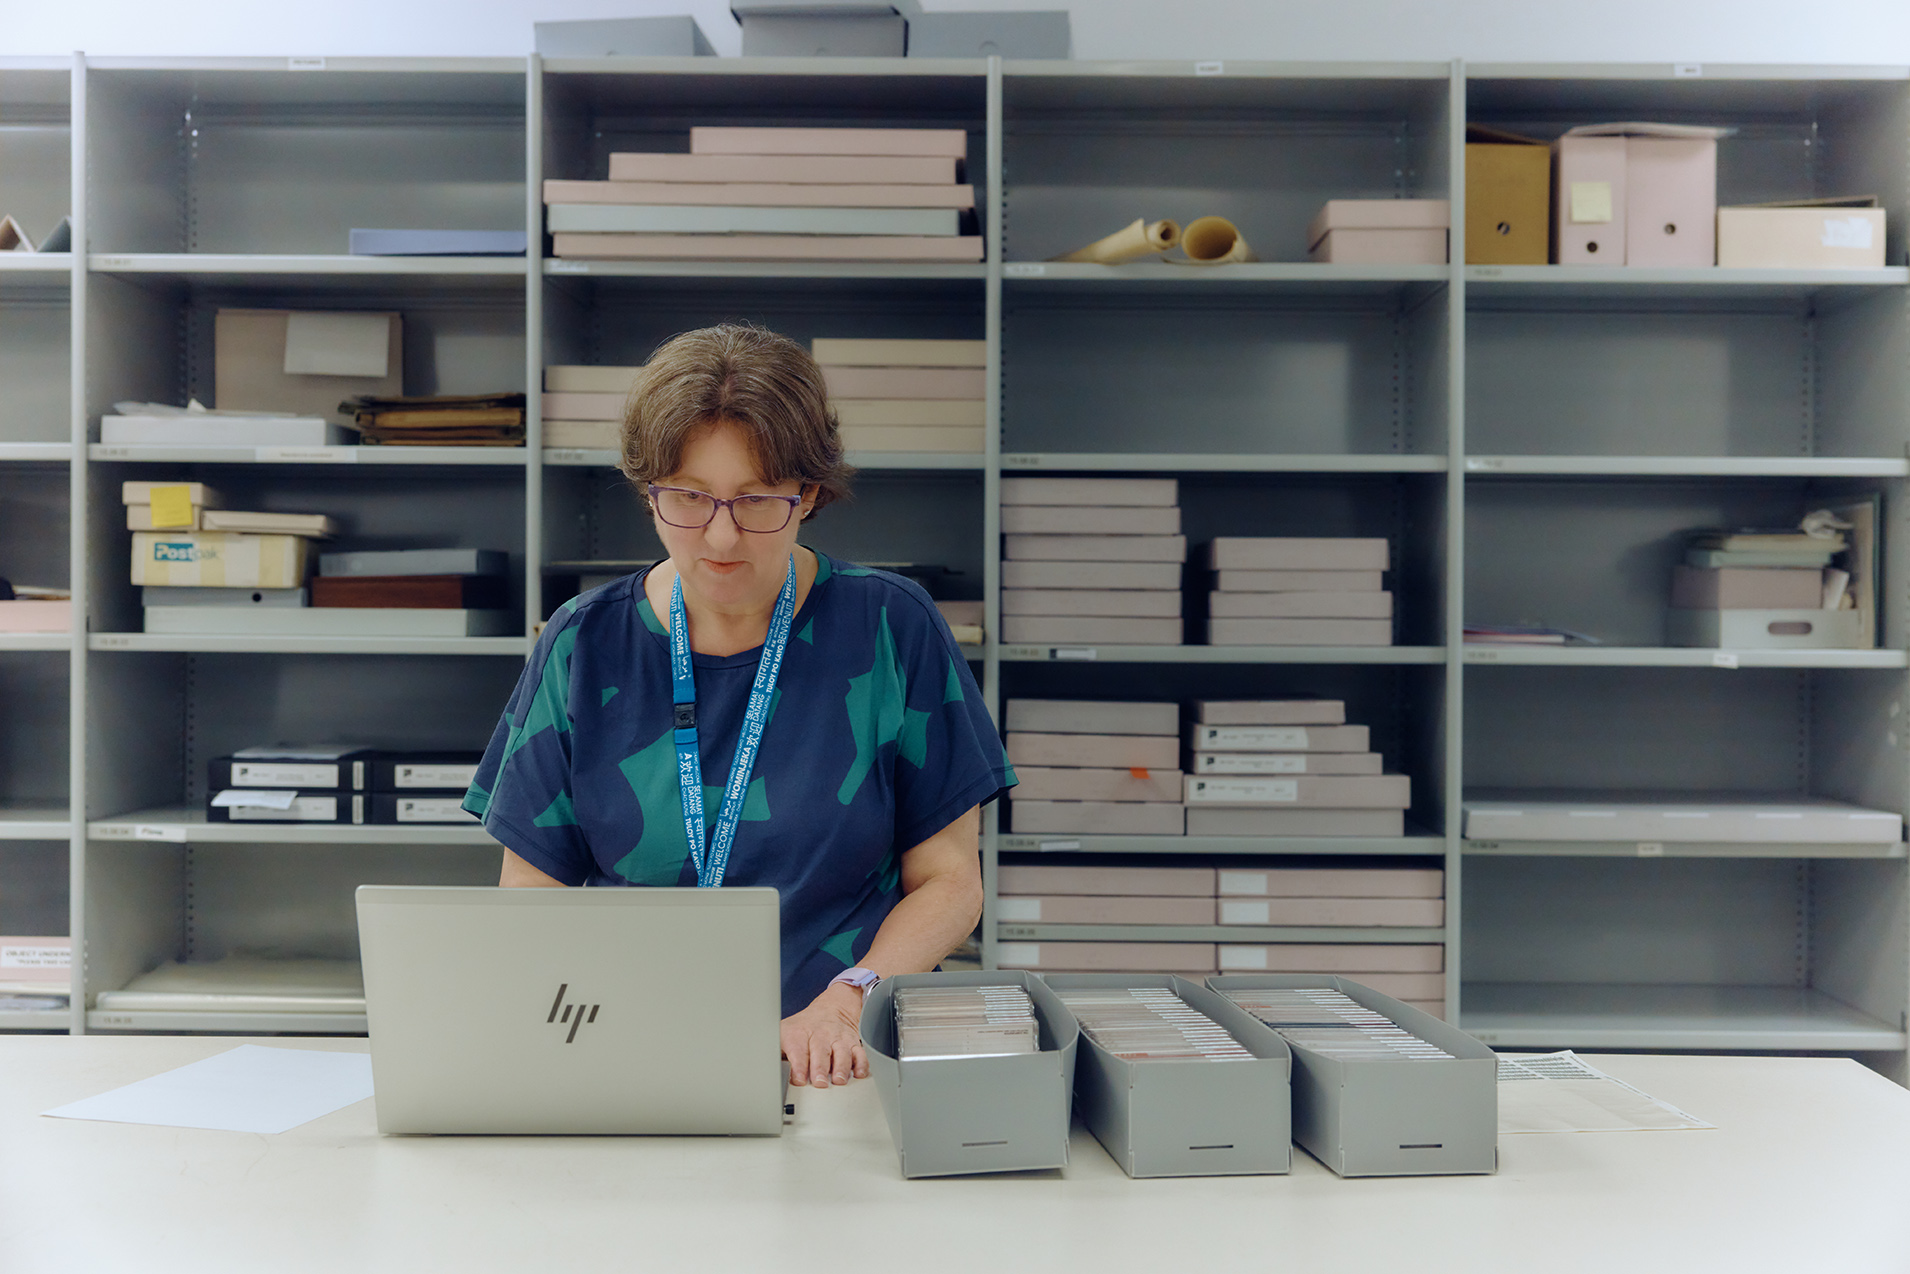
‘I work as part of a team who provide descriptive information for collections, including the oral histories. The descriptive work we do helps people discover the voices and stories of other cultures and generations.’
Step 2: Getting the material ready for digitisation
Material is retrieved from storage so that it can be prepared for digitisation.
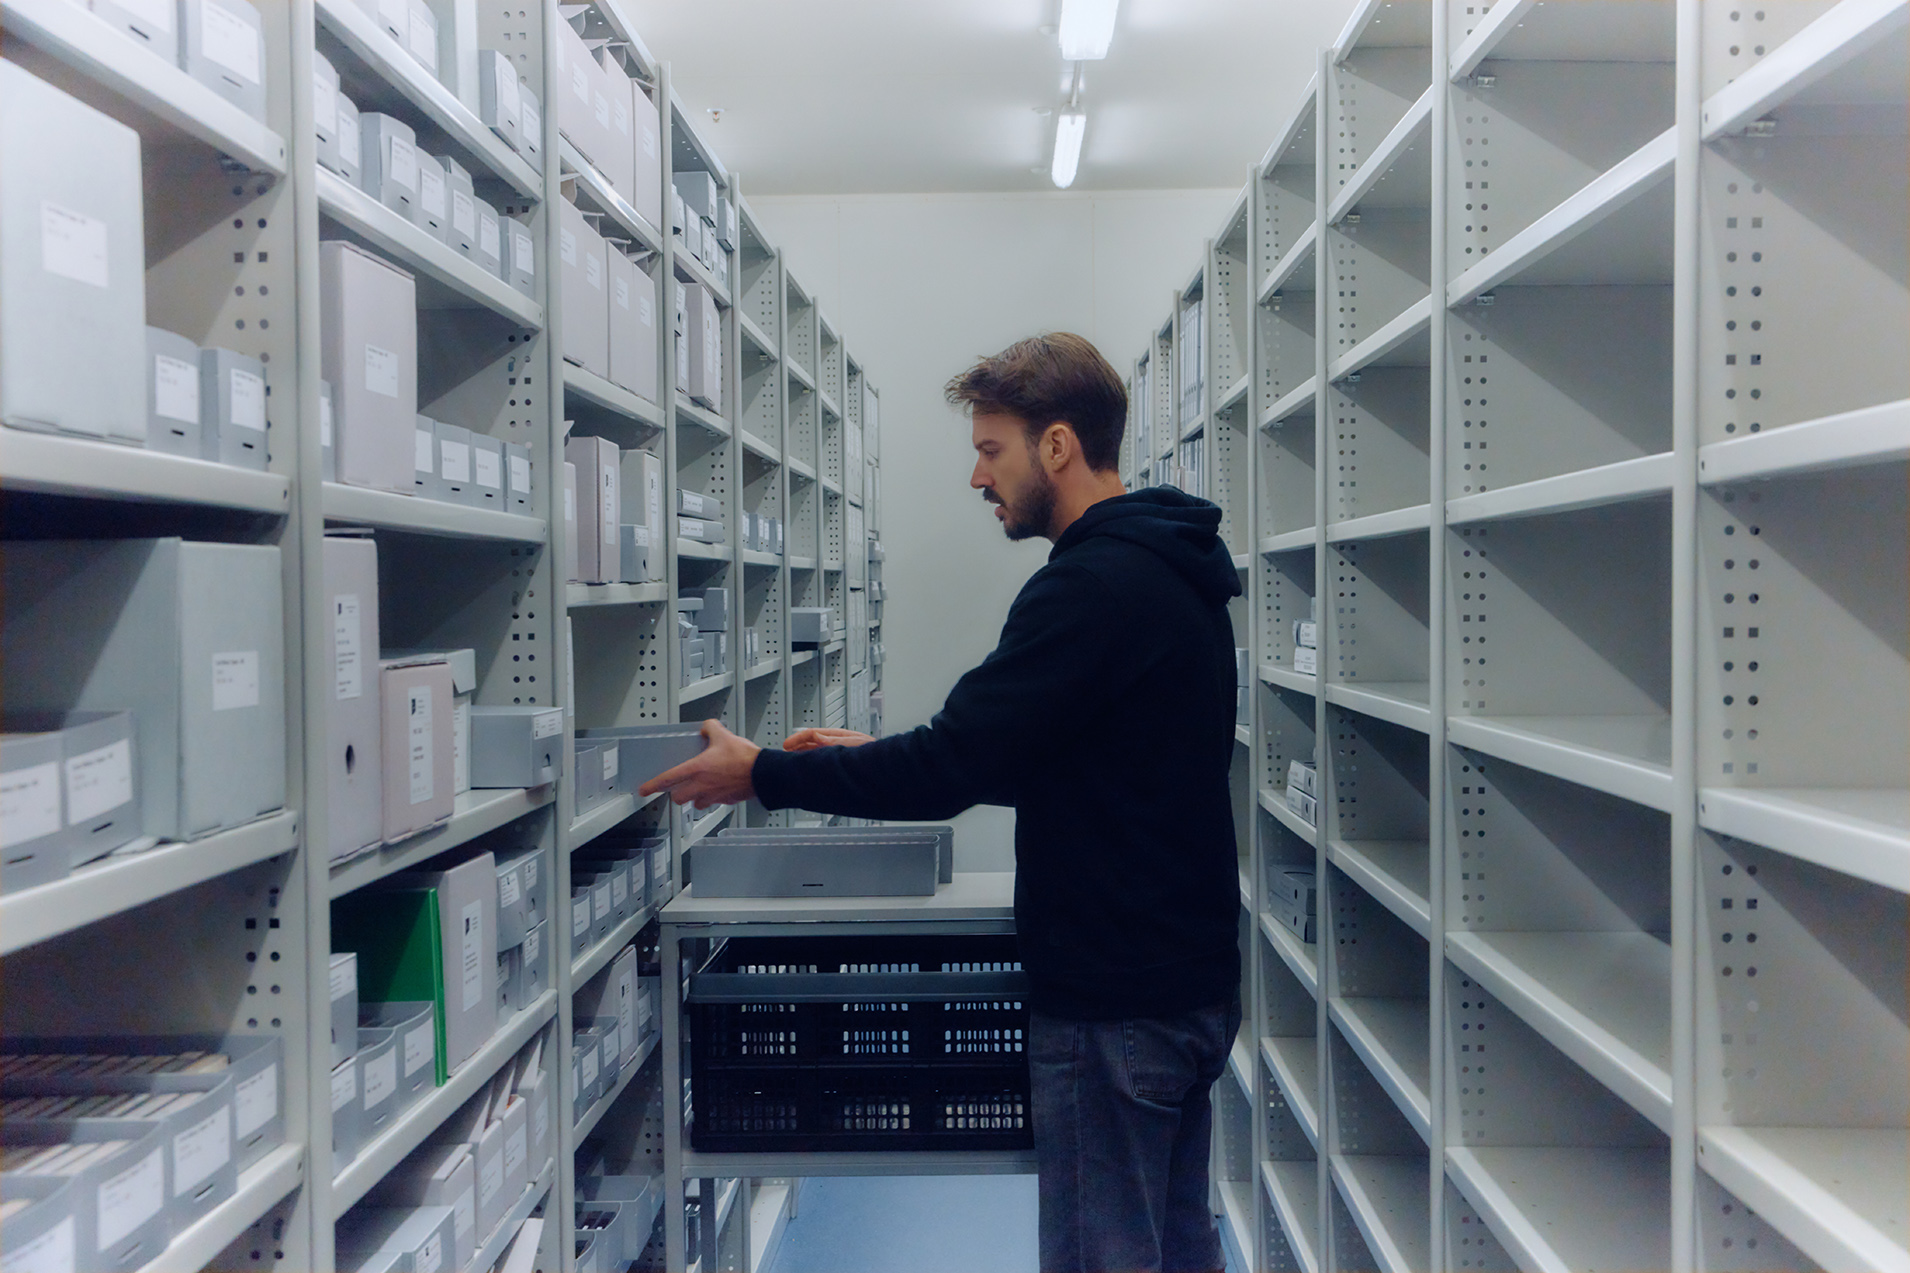
Because original carriers are kept in cool storage, they need to be acclimatised for 24– 48 hours after retrieval.
‘It's a privilege to work in a job helping members of the community access rare and valuable items such as those in the Library 's oral history collection.’
Once acclimatised, each item is checked against the item-level metadata and then carefully packed into custom transport cases ready for shipment to the digitisation vendor.
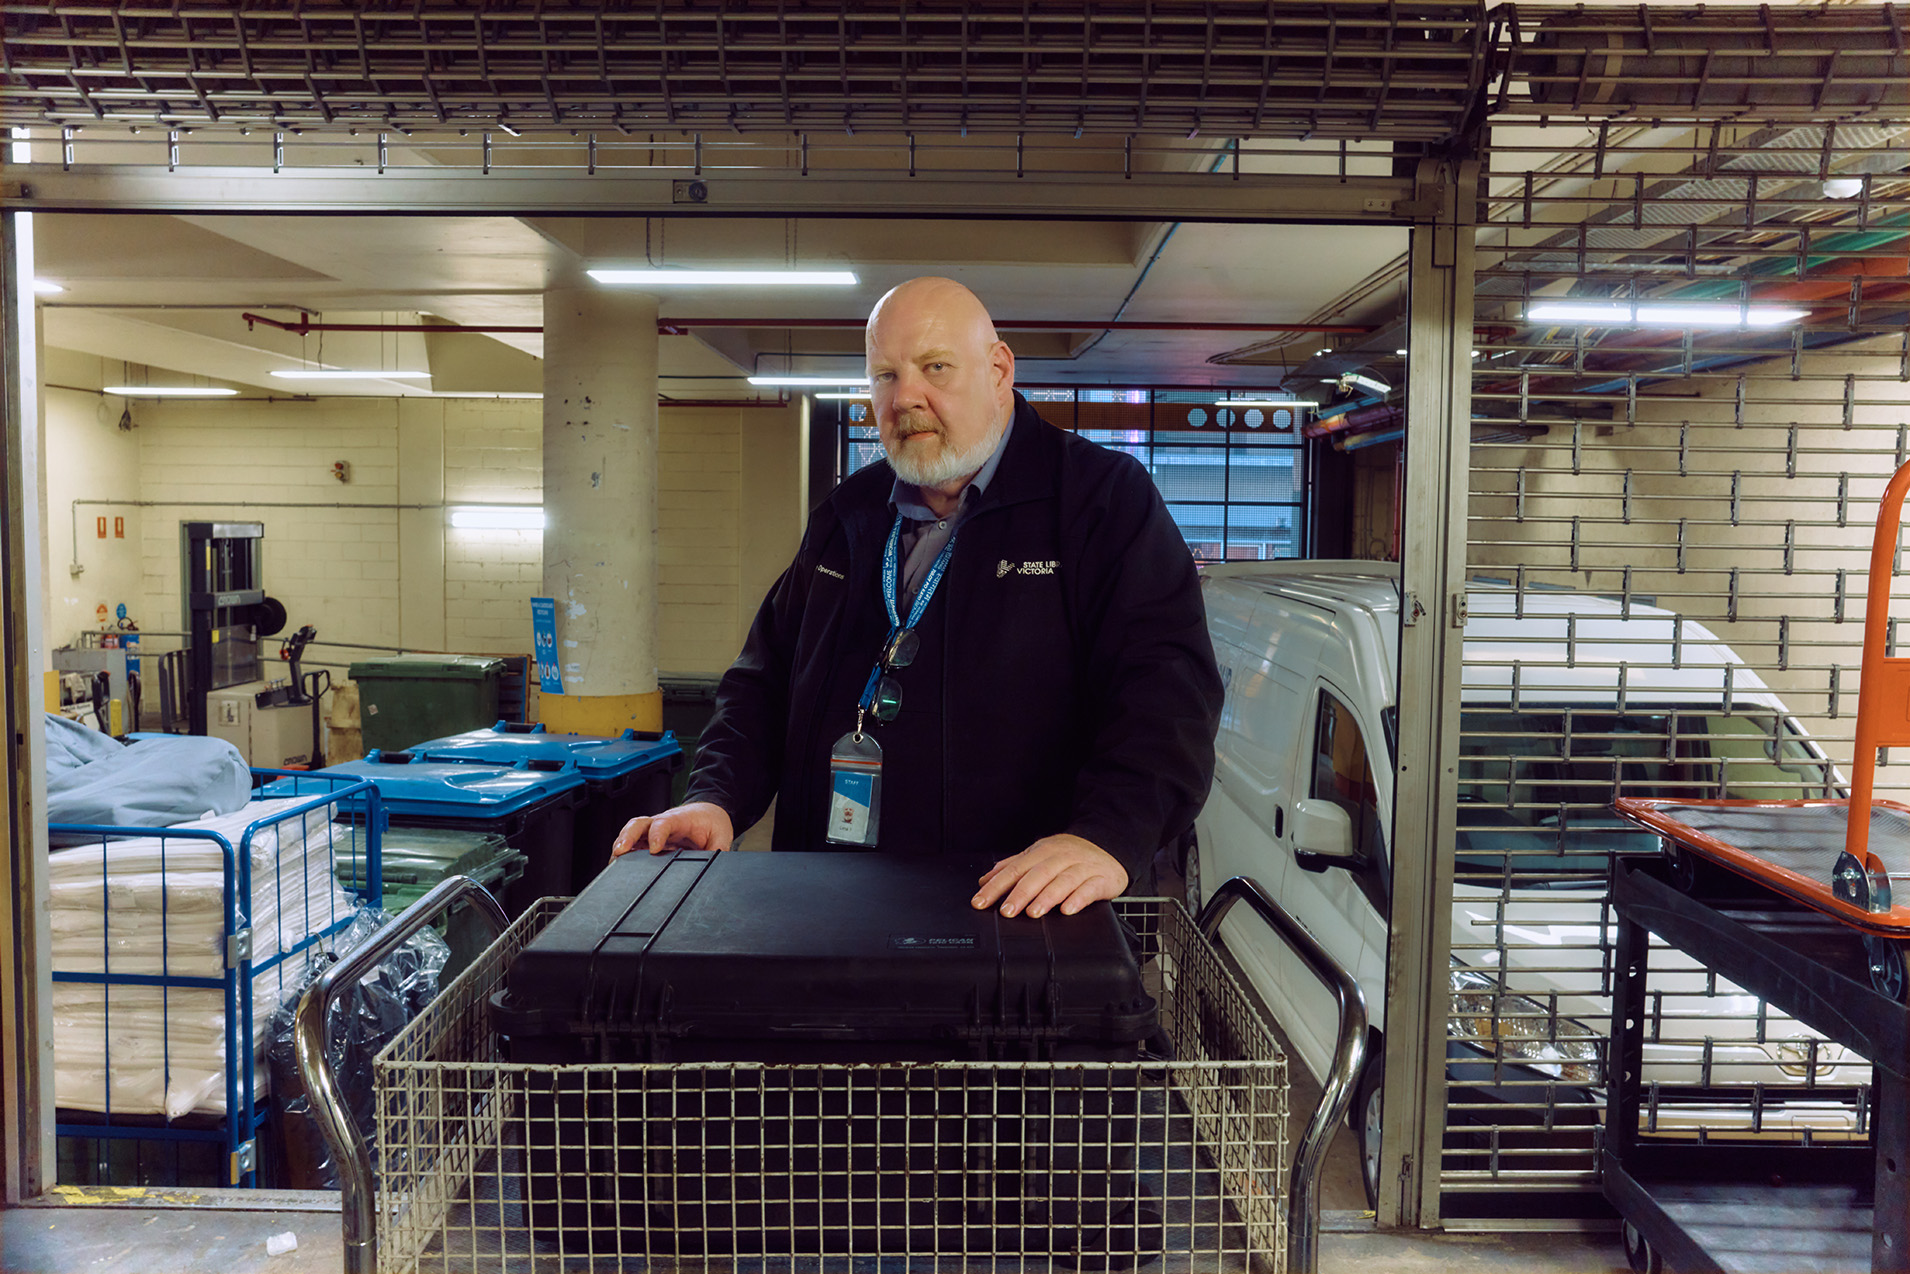
‘Our history and memories define who we are, what we are and what we can become. It’s important that our memories are preserved and our history is accurately and safely stored.’
Step 3: Digitisation by specialist vendor
Because of the level of technical expertise needed to digitise oral histories, the Library employs a specialist vendor to carry out this process.
To ensure the highest quality work, the vendor has to abide by strict technical standards.
The process starts with all material being photographed while still in its transport cases.
This ensures the material can be repacked in the same manner once the project has been completed, while also documenting any possible damage or missing items.
All carriers are inspected for signs of deterioration, damage or contamination. Any materials showing signs of binder degradation or playback instability are heat-treated before transfer.
If mould or powder are spotted on the media, items are cleaned by hand. This involves wearing PPE gear and gently removing contaminants with a soft brush. Tape may also be run through a custom-modified reel-to-reel machine that allows cleaning with isopropyl alcohol.
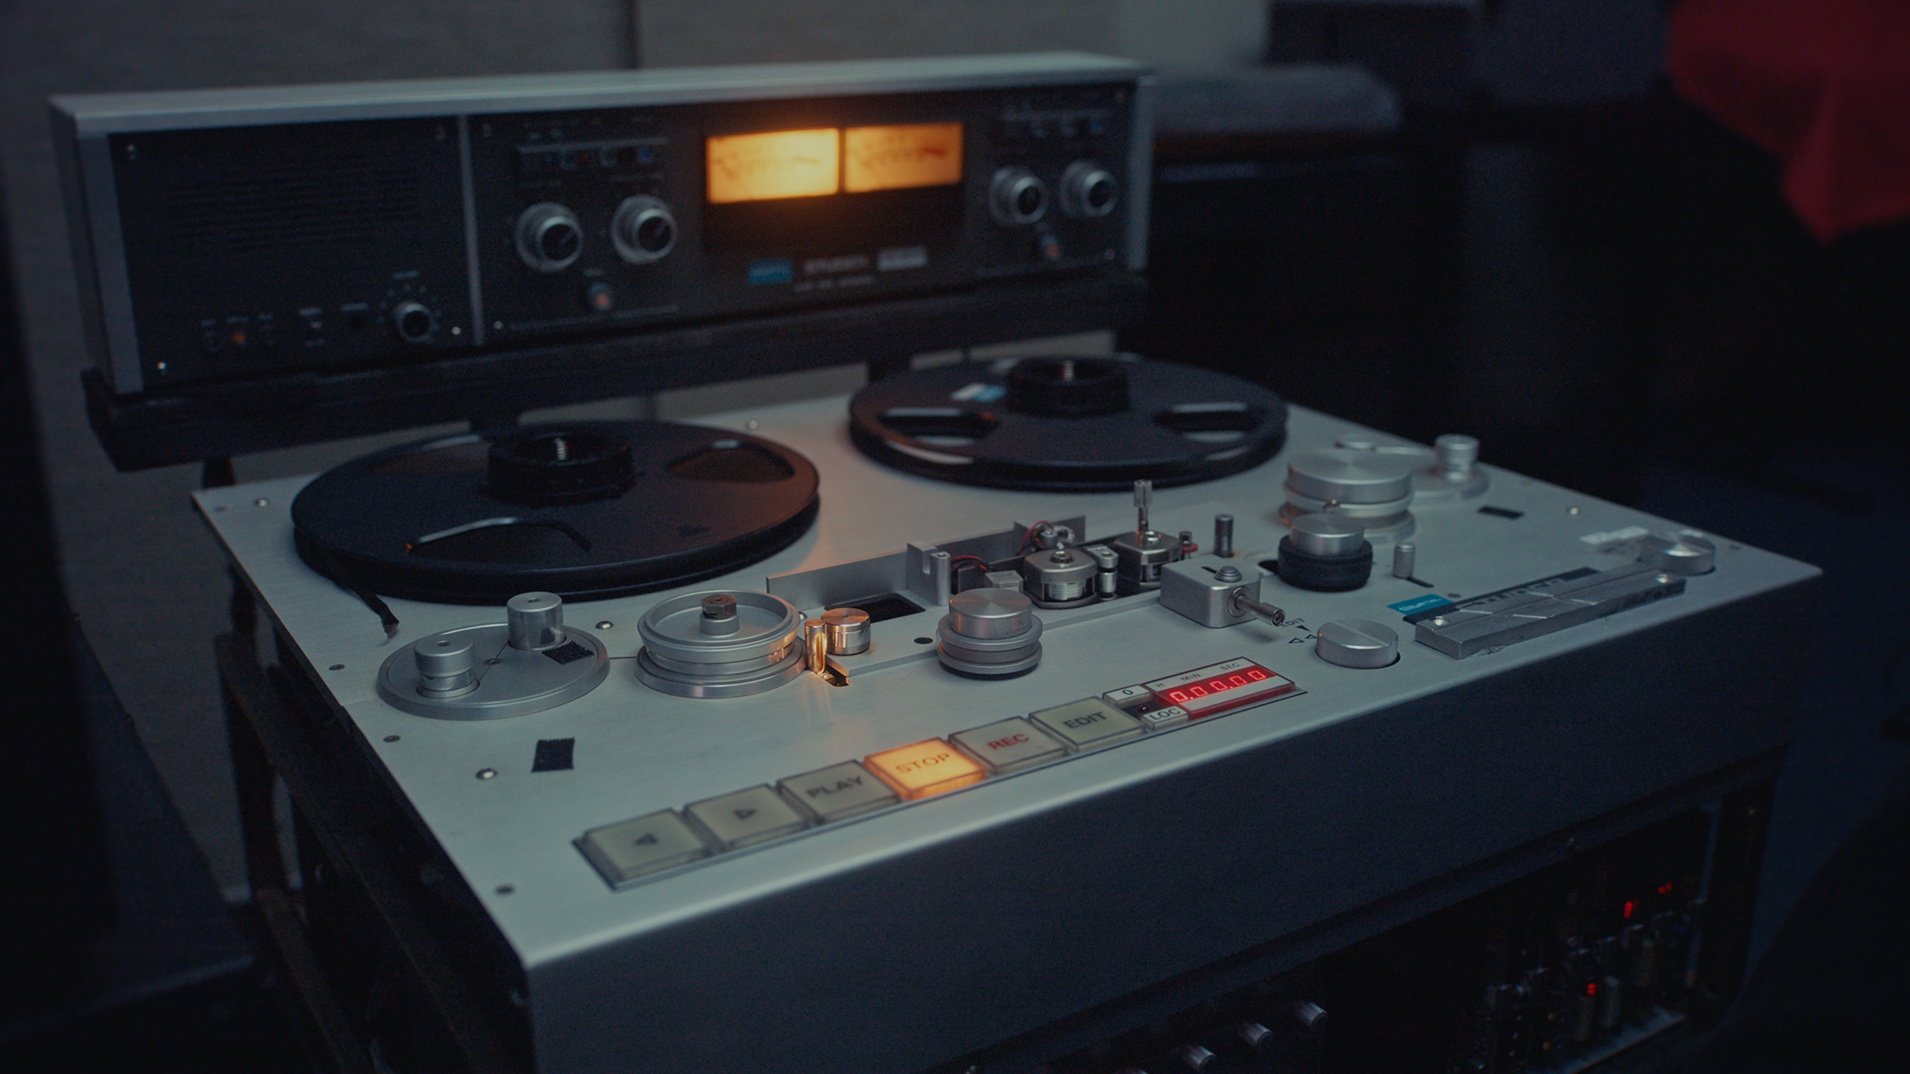
Once cleaned and heat-treated, the tapes are transferred using calibrated playback equipment and captured as high-resolution archival files, typically 24-bit/96 kHz Broadcast Wave Format (BWF).
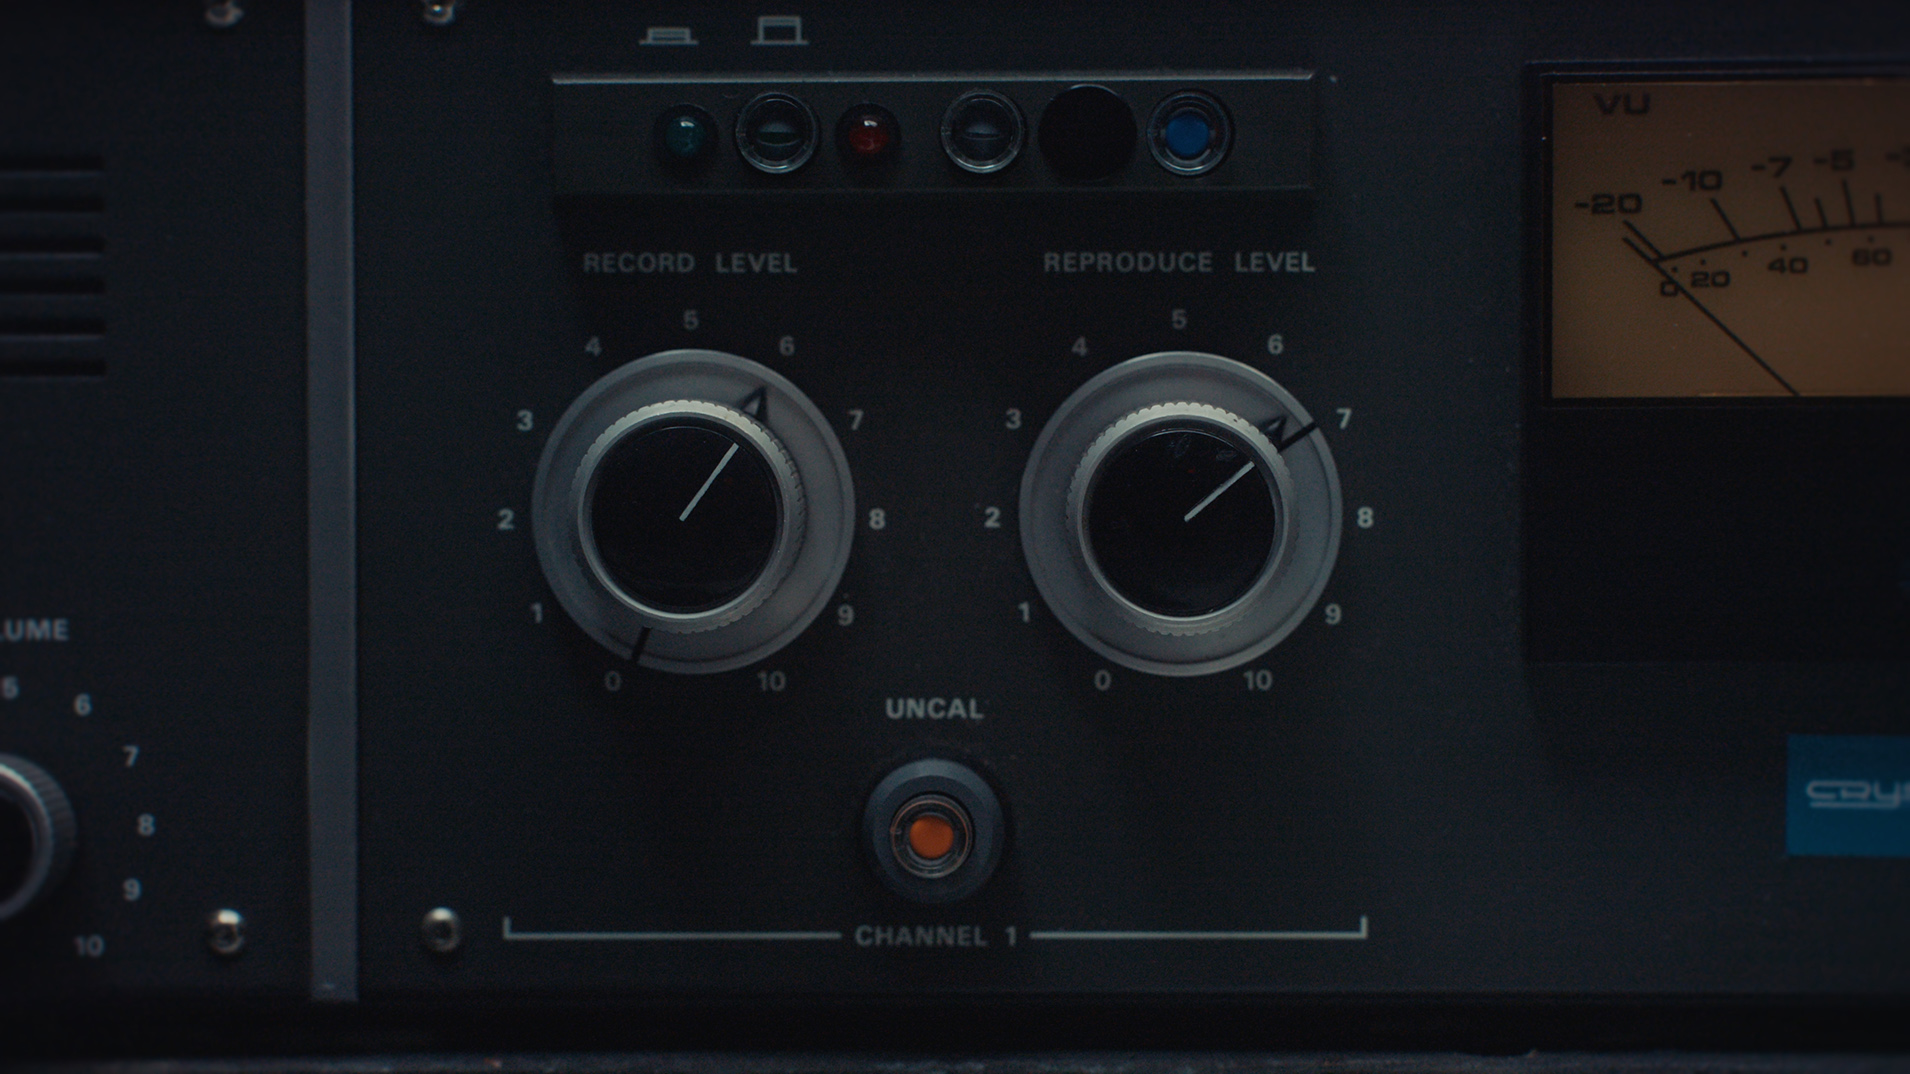
‘As well as voices, these recordings capture moments of place in time – the intake of breath, the shuffle of a chair, the ticking of a clock.’
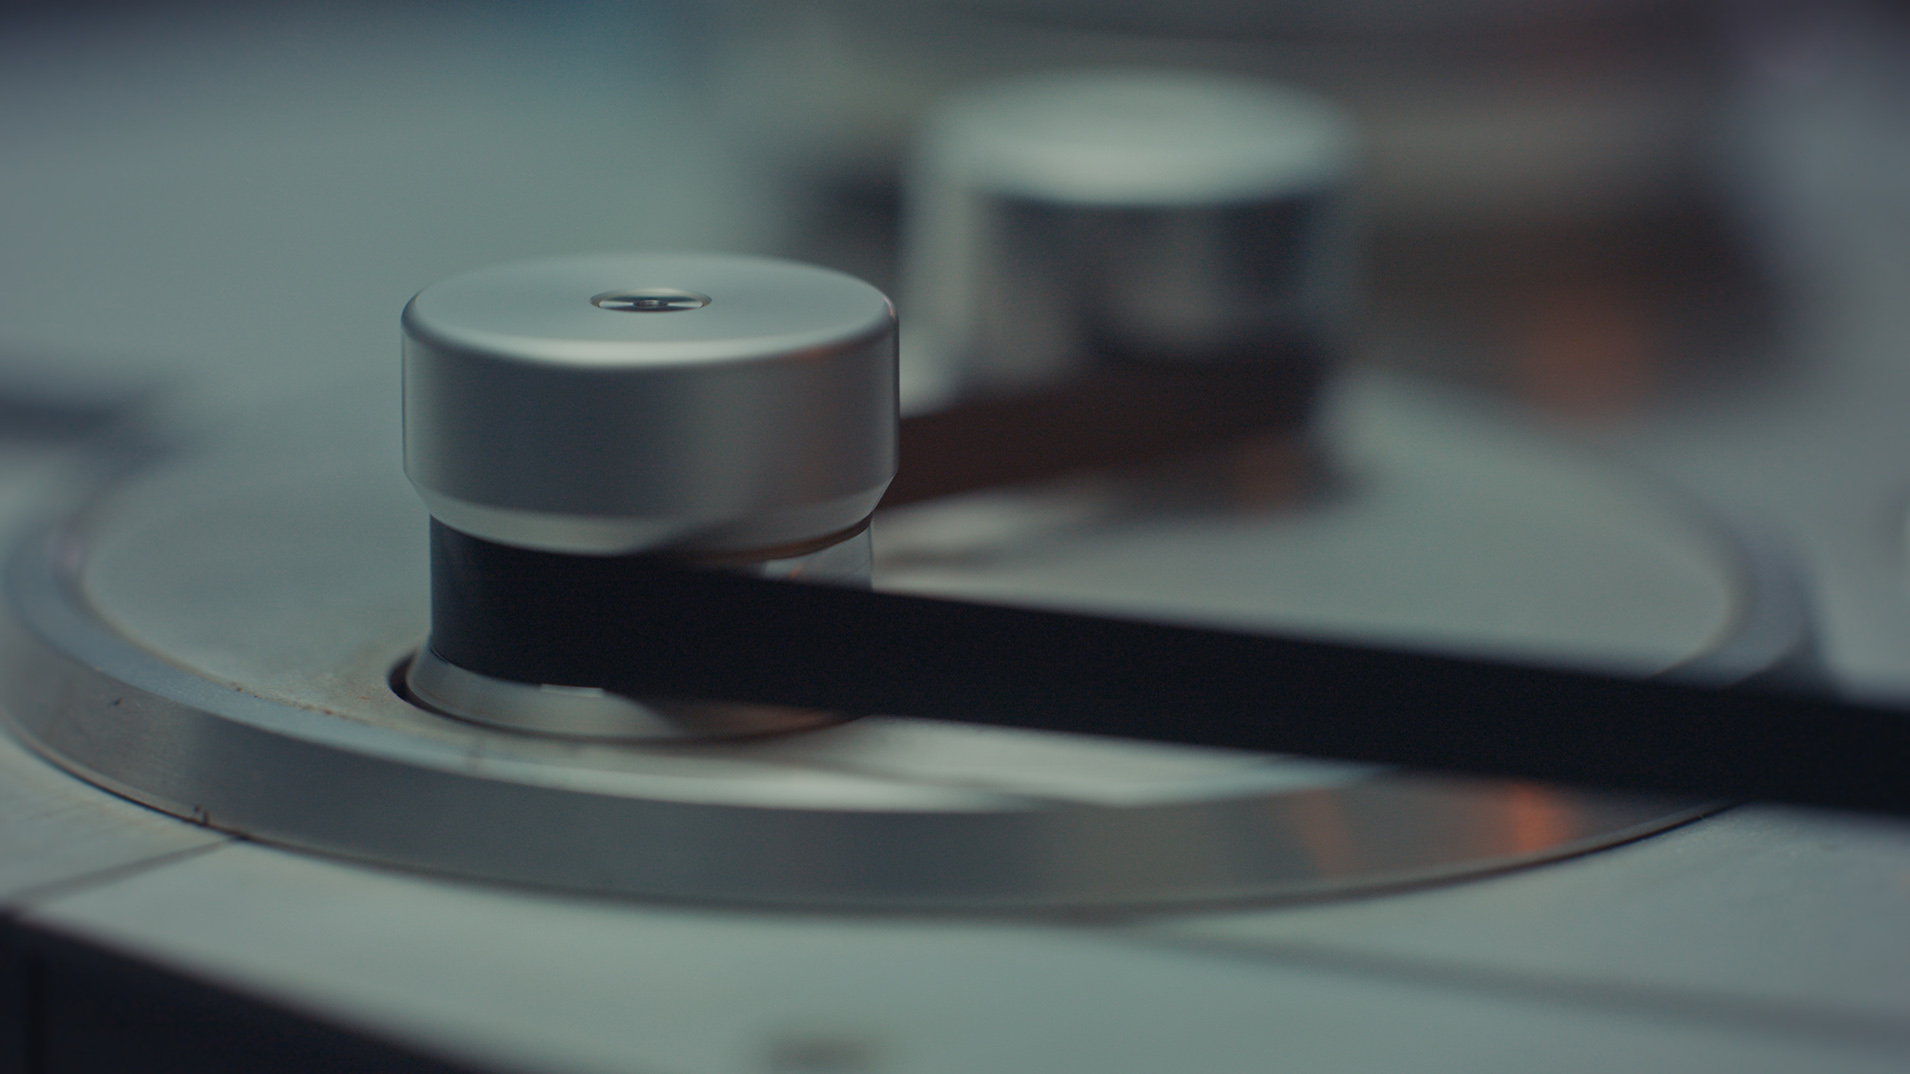
Before each transfer, the technician sets appropriate signal levels to avoid distortion and adjusts the azimuth – the angle of the playback head – to achieve optimal playback response.
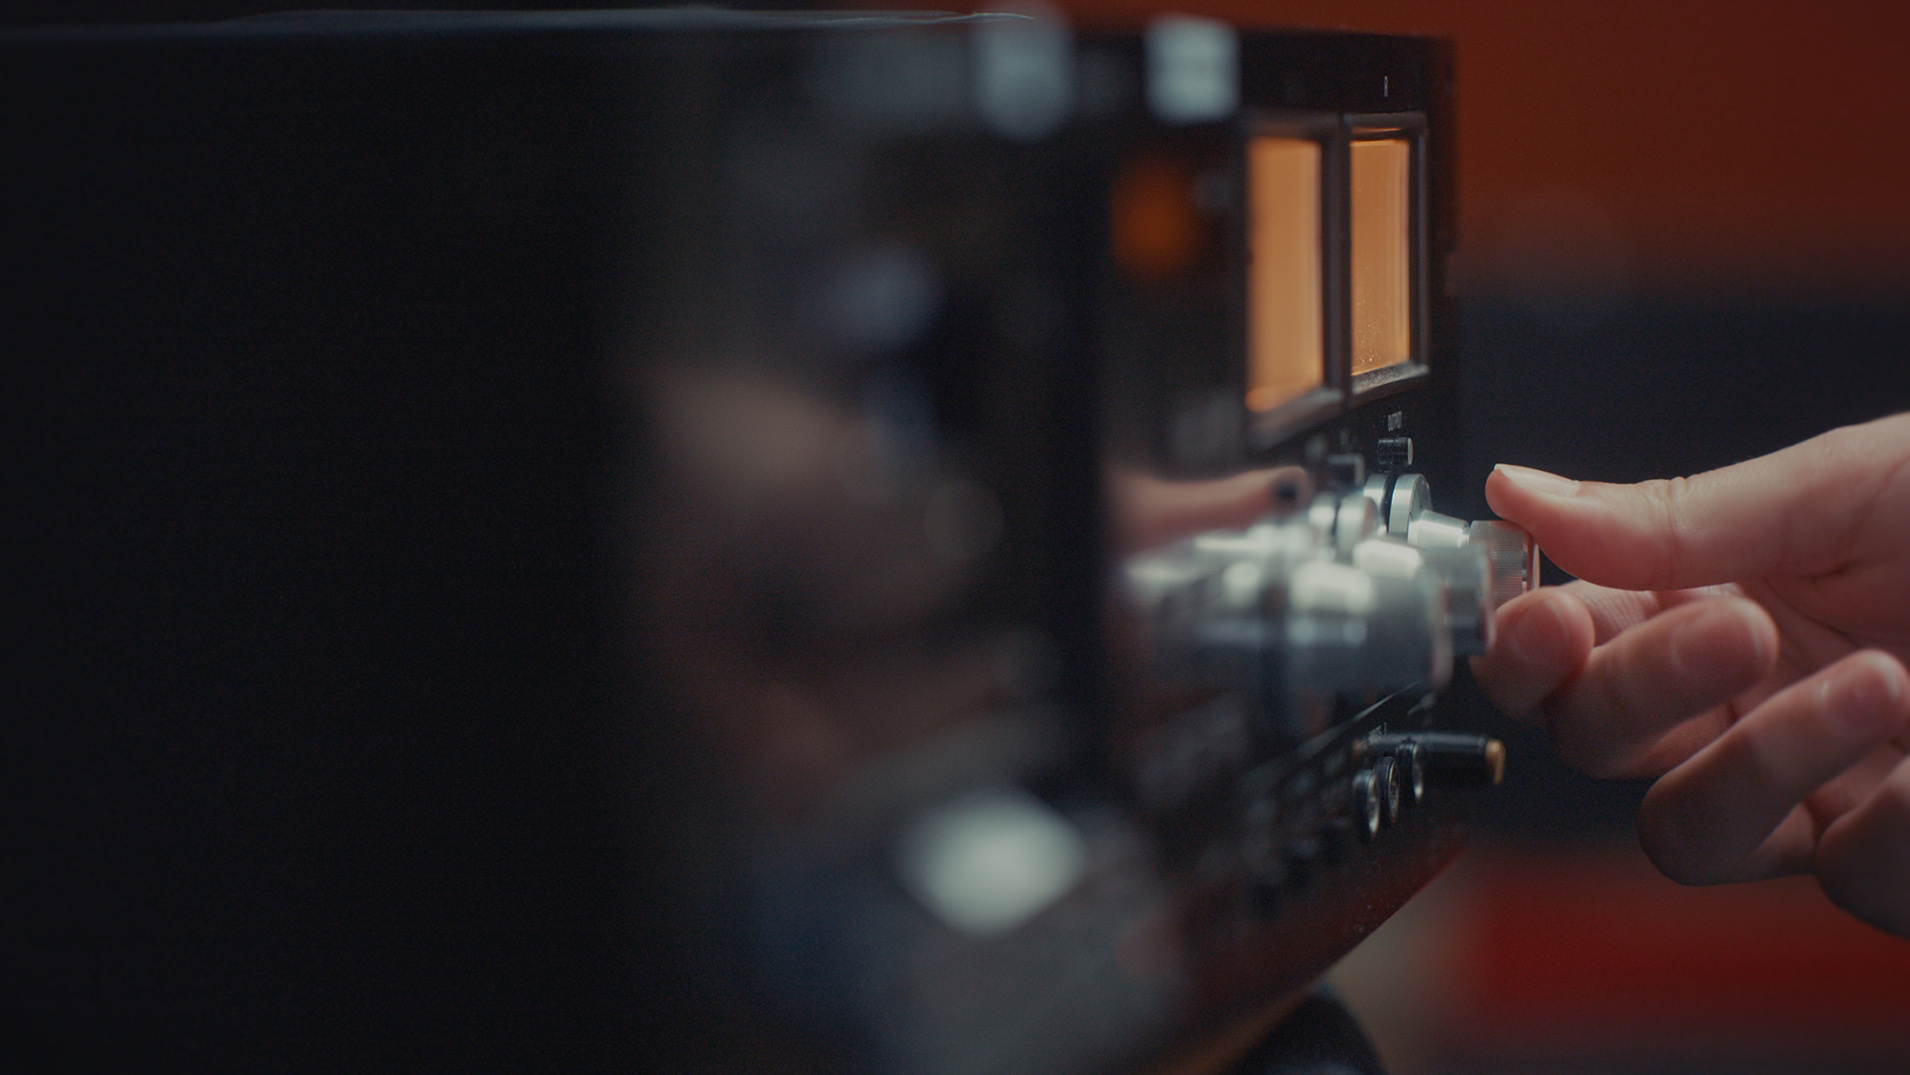
Playback quality is continually assessed, and any problematic items are removed from the workflow for further treatment before digitisation continues.
Every digital file is checked for technical accuracy, audio integrity, correct metadata and successful capture.
Item-level descriptive, technical and preservation metadata are recorded throughout the project to ensure long-term accessibility and traceability.
Once digitisation is complete, file counts, metadata and representative audio samples are reviewed.
Preservation masters, metadata, documentation and backups are prepared for delivery and long-term storage following agreed digital preservation practices.
The final step involves repackaging the original material in transport cases along with hard drives containing a set of preservation master and access copy files, before arranging shipment back to the Library.
Step 4: Unpacking, file transfer and quality assurance
Once the material is back at the Library, everything is checked against the item-level metadata to ensure that both the original material and the corresponding digital files are accounted for.
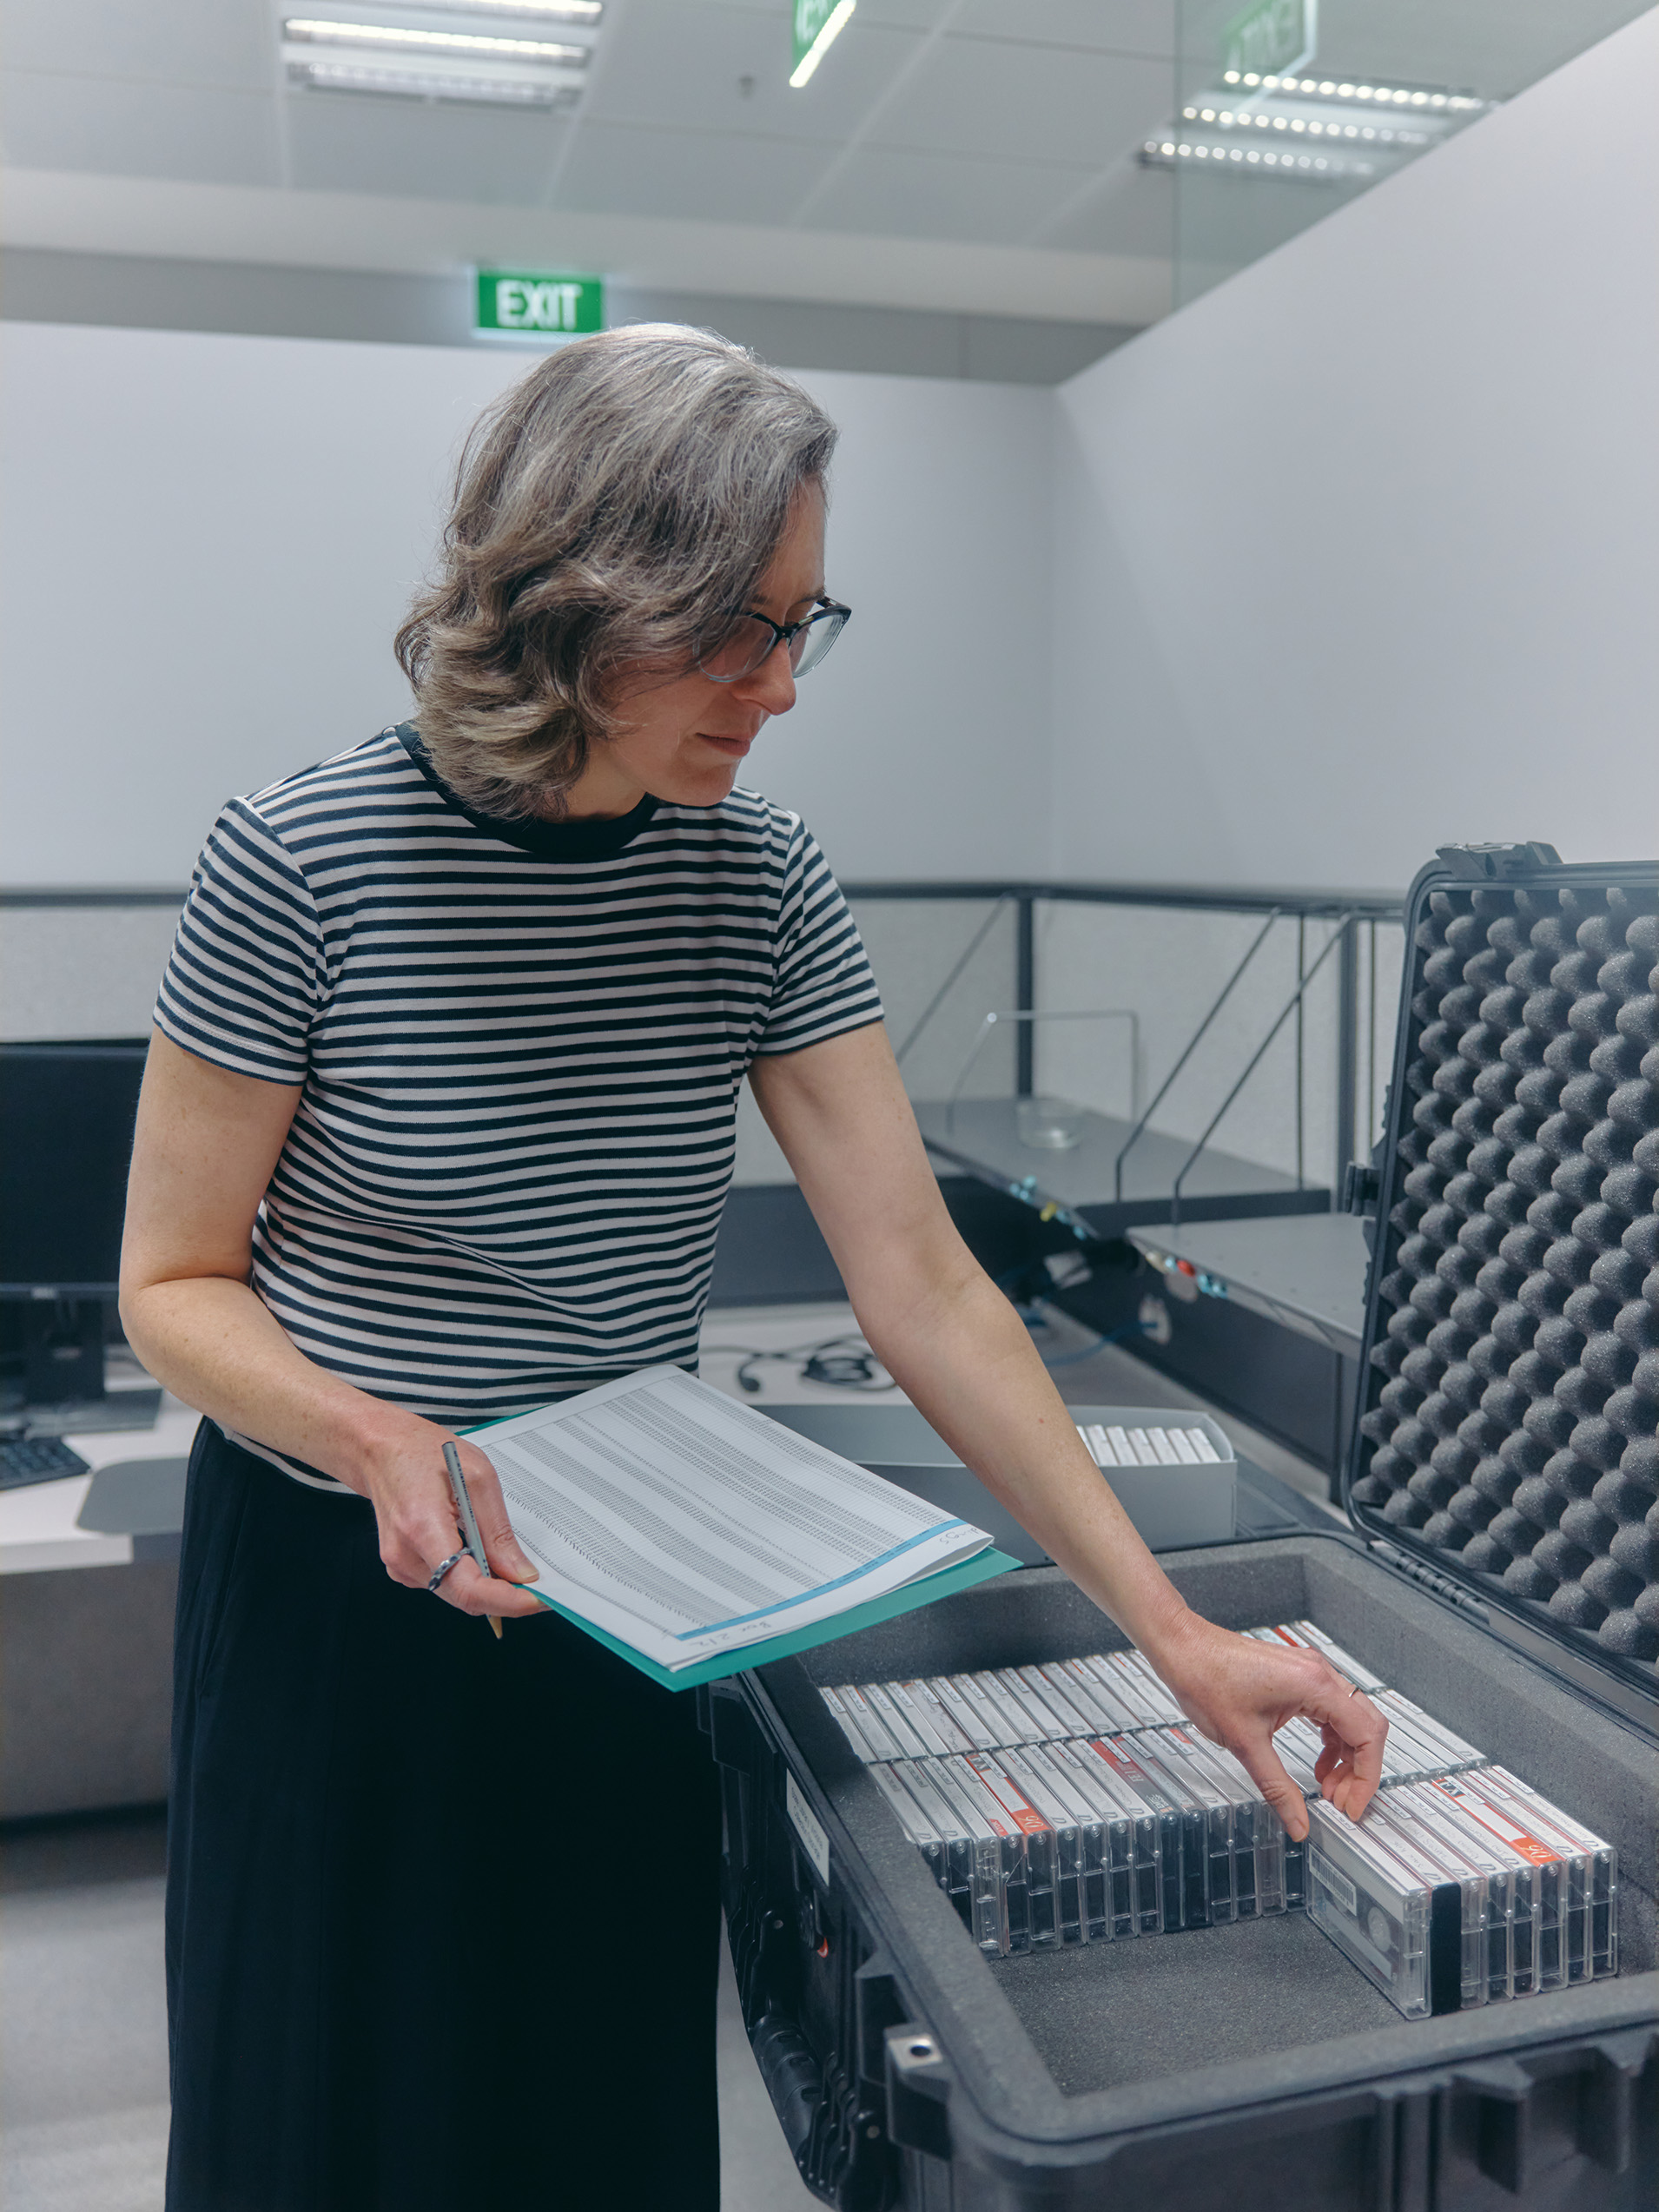
'Making our collections accessible is what inspires me to come to work every day. I am proud to work with colleagues who take such great care with every facet of their job.’
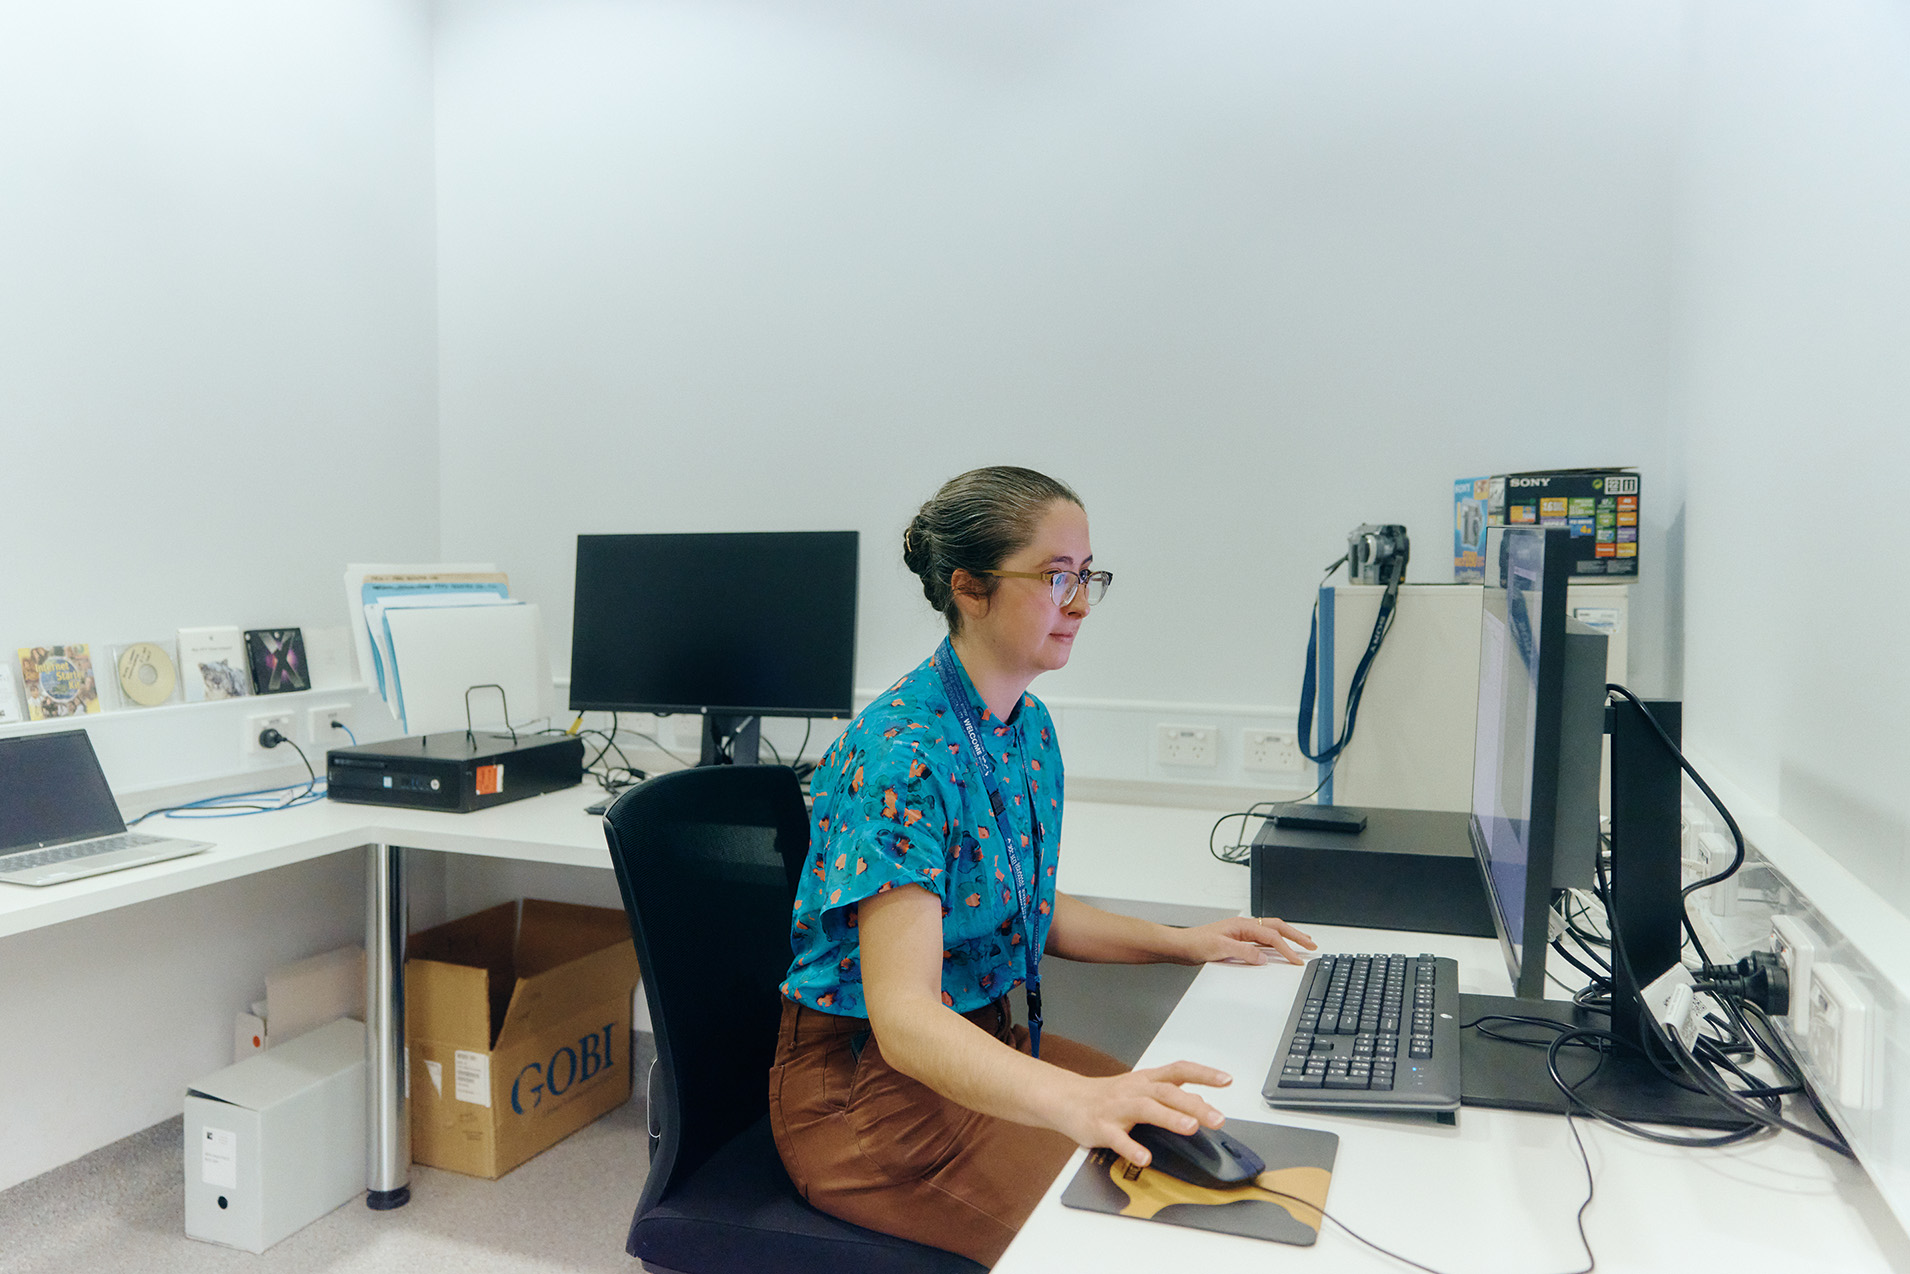
The digital files undergo an initial virus check on a dedicated PC – a standard process for any external material to protect the Library’s network.
Once this is complete, the files are copied to secure network storage using tools that verify each file is identical to the source drive.
This process can take many hours, as high-quality audiovisual files are often large. Any issues like missing files or blank recordings are noted and followed up with the digitising vendor.
Step 5: Long-term preservation
At this point, the digitisation process is complete, but the work is not over.
Digital files are vulnerable to damage and loss, and now that the analogue tapes are failing, the digital files become the primary copy of the material and require a high level of care.
Digital preservation controls such as selecting stable, well supported file formats, centralised storage, file integrity monitoring and maintaining multiple separate copies of each file, are just some of the ways we can make sure the files remain accessible in the long-term.
You can read more about how to care for your own digital files in our Digital collecting research guide.